Particle Screen /【VRChatワールド小物】パーティクルスクリーン
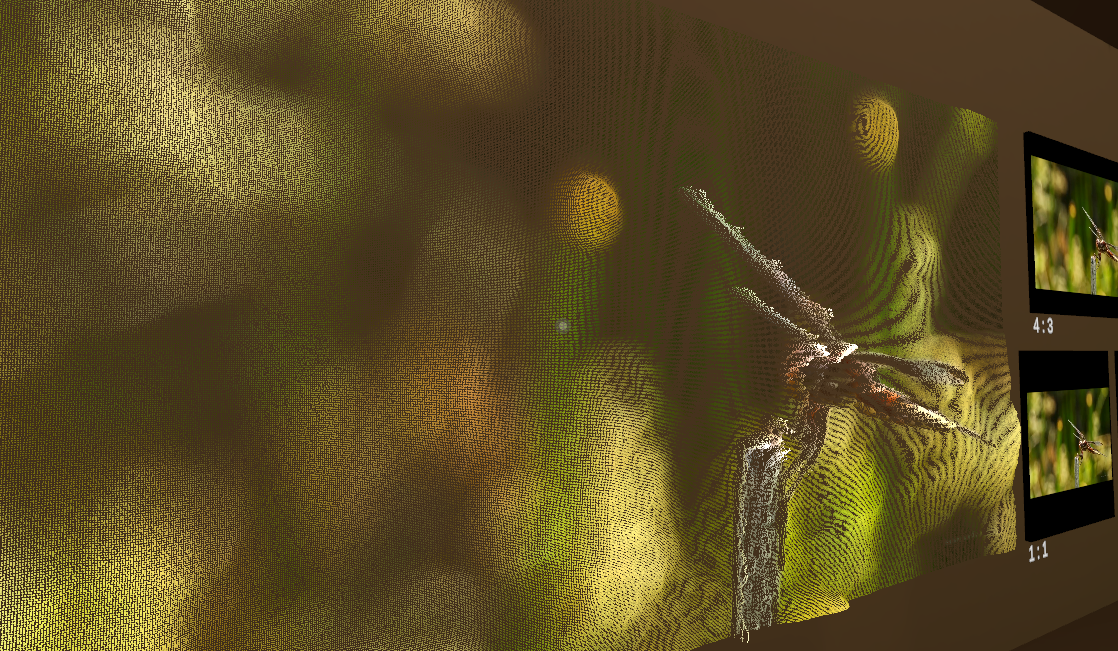
Particle Screen by AshleyScarlet is a shader that displays video or other texture data on a particle grid with depth.

Installation Guide
The distributed packages for this shader are unusual in that they include a set of prefabs for a few different video players (not including TXL), and no generic prefab. If you do not have one of the other "supported" video players installed in your project, all of the prefabs in this package will be broken.
However, it should be simple to do a manual setup.
Configure VideoTXL
This guide assumes you've started by adding a fresh Sync Video Player to the scene, which you can do by utilizing the GameObject menu:
GameObject -> TXL -> VideoTXL -> Sync Video Player
You can also drag the prefab directly from the Packages folder, although adding objects and components from the GameObject menu can have the benefit of ensuring more things are automatically hooked up correctly for you.
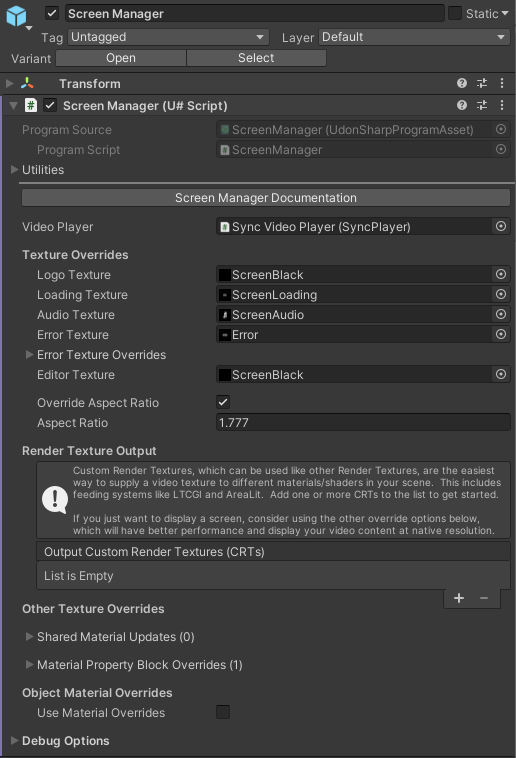
Expand the

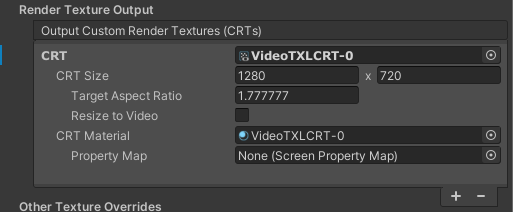
Under Render Texture Output, click the plus (+) on the list to add a new Output CRT. This will create two assets in your project, in a directory next to your scene file with the same name as the scene. The first of those files is VideoTXLCRT-0.asset, though the number may be different if you already have other CRT resources created in your project. Remember this asset, as this is the video texture that you will provide later.

CRTs are configured by default to be reasonable for video render.
You can use the same CRT as the video texture for any number of materials in your scene, and the texture has already been corrected for Y-flip, gamma, aspect ratio fit, etc.
Shader Setup
By default, the package should have imported into Assets/AshleyScarlet/ParticleScreen. Within the folder is a set of
(probably broken) prefabs, and folders for Material, Mesh, Shader, and Texture.
Go into the Mesh folder and drag the ParticleSource mesh into your scene. Select the mesh so it's active in your
inspector window.
Go into the Material folder and drag the Visualizer material onto your instance of the mesh.
Expand the material to edit its properties, and assign the VideoTXLCRT-0.asset asset that you created previously
into the Screen parameter. You can make other adjustments in here, but leave the AVPro video box unchecked, as that is
already handled for you by VideoTXL.
The mesh distributed in the package has no bounds, so when the center of the mesh is not visible in your view, the entire mesh will be culled. To fix this, you will need to look into editor tools to generate a bound on the mesh for you.